Foot and Ankle Mobility Exercises That Actually Change Movement
Mobility work only sticks when your foot and ankle can control the range you gain. This is a practical look at what limits ankle motion, how to test and train it, what popping and stiffness usually mean, and how to combine mobility with strength so the change lasts.
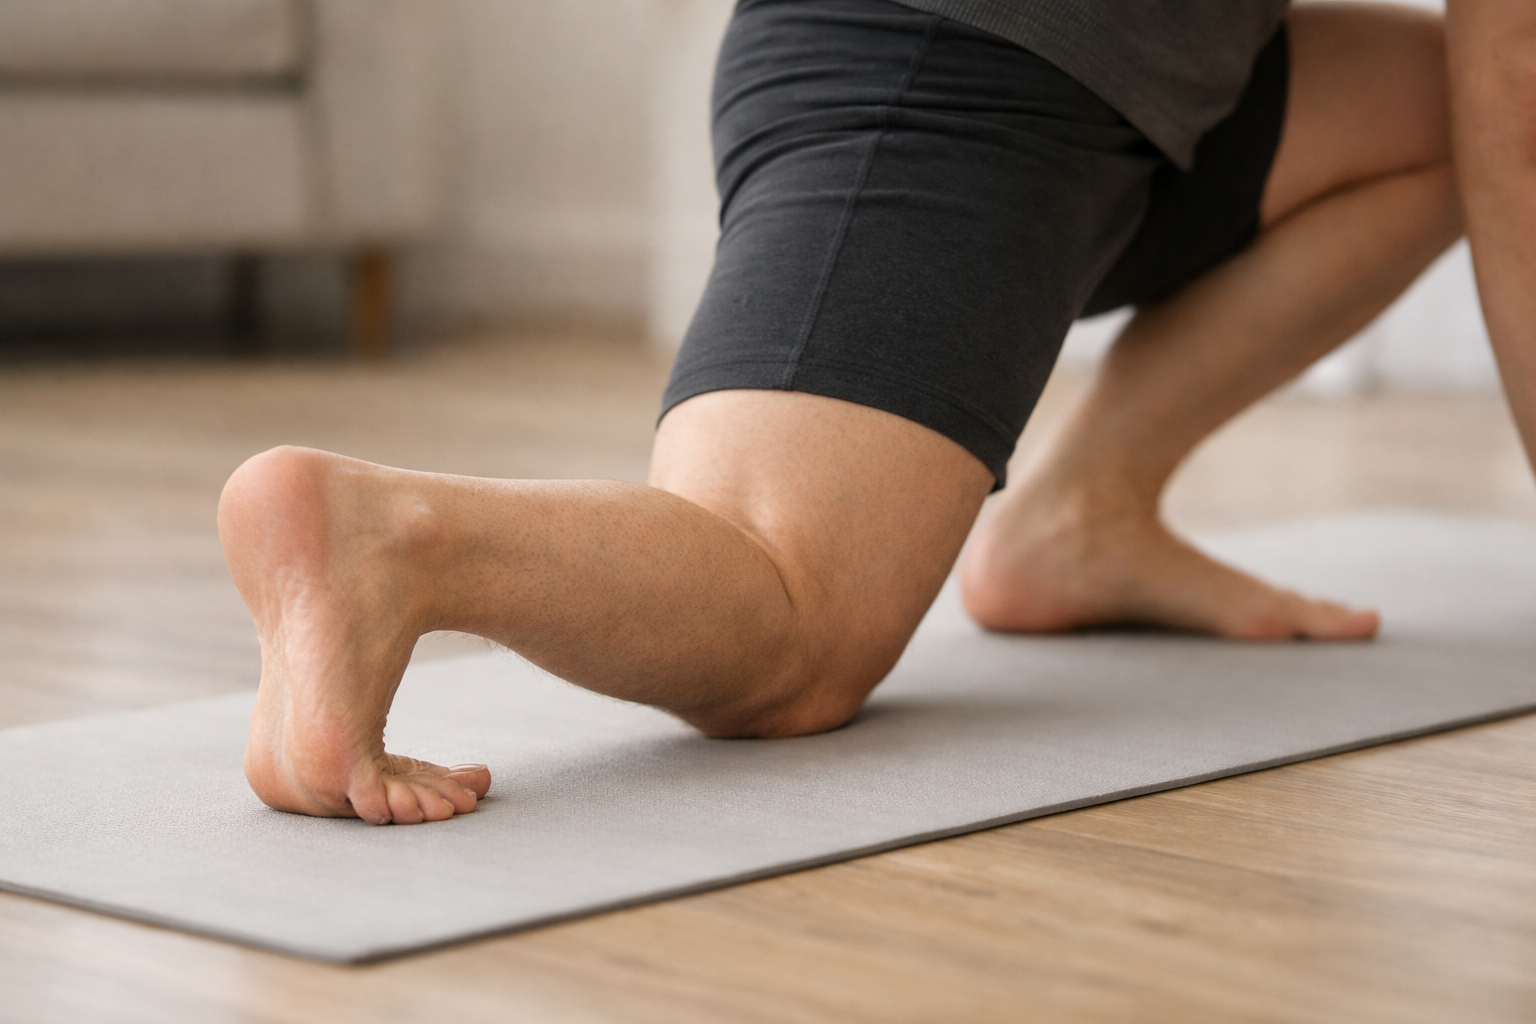
Most people come to mobility work through frustration. You squat and your heels lift off the floor. You go down stairs and your ankle feels like it hits a wall. You stretch your calf against the wall every day and the stiffness is right back the next morning. Or your ankle feels like it desperately needs to pop, and no matter how you twist it, nothing happens.
So let’s start with the part most articles skip. Stretching creates a temporary window of extra range. Whether you keep that range depends on whether you can control it. A joint that can move further but has no strength at the end of that new range tends to give it right back, usually within hours. That’s why the same stretch can feel productive and useless at the same time.
Good exercises for ankle and foot mobility do two things at once: they open up the range, then they immediately ask you to own it.
What Actually Limits Ankle Mobility
When someone can’t get their knee forward over their toes with the heel down, the reflex assumption is tight calves. Sometimes that’s right. Often it’s only part of the story.
Calf and Achilles length. The gastrocnemius crosses the knee, the soleus doesn’t. That’s why a stiff-knee calf stretch and a bent-knee version feel different, and why some people have plenty of range with a straight knee and almost none in a deep squat position.
Joint restriction at the front of the ankle. As your shin travels forward over your foot, the talus has to glide backward inside the ankle joint. If that glide is limited, you feel a hard, blocking pinch at the front of the ankle rather than a stretch in the back. This is a meaningful distinction. A pinch at the front will not respond to more calf stretching, and pushing harder into it just makes the front of the ankle angry.
Old injuries that never fully rebuilt. A sprain from years ago can leave lasting stiffness, not because the ligament stayed loose, but because the ankle spent weeks moving less and never got systematically asked to move well again. Swelling, guarding, and protective habits outlast the tissue healing.
Time in shoes with a raised heel. If your heel sits higher than your forefoot for most of your waking hours, your ankle rarely visits its end range. Tissue adapts to what it’s asked to do. Ask for less range, get less range. Not damage, just adaptation.
Not moving much. Ankles stiffen with disuse faster than most joints. Rest equals rust is a blunt phrase, but it describes the ankle well.
Stiffness in the foot itself. People fixate on the ankle and ignore the midfoot and the big toe. If your big toe won’t extend well, your push-off changes, your foot rolls off the inside, and your ankle motion looks limited when the real bottleneck is further forward.
One more, and it matters: sometimes stiffness is the ankle protecting something. A joint that’s irritated tends to hold itself tight. In that case, chasing range aggressively feels like fighting the ankle, because you are.
How to Improve Foot and Ankle Mobility

Here’s the sequence I’d use, and the reasoning behind it.
- Find out what kind of limitation you have. Back-of-the-ankle stretch versus front-of-the-ankle pinch. These get treated differently.
- Create range. Stretching, joint mobilization, soft tissue work. This part is fast and temporary.
- Load the new range immediately. Strength through the range you just gained is what tells your nervous system this position is safe and usable.
- Use it in something that resembles real life. Steps, squats, walking, lunges, whatever you actually do.
- Repeat often, not hard. Frequency wins here. Consistency beats intensity.
Step three is where most home programs fall apart. People do the stretch, feel looser, and stop. Then they wonder why nothing changed after a month.
A Simple Way to Test Yourself
Stand facing a wall, barefoot. Put one foot a few inches back from the wall. Keeping your heel flat, drive your knee forward toward the wall. If it touches easily, slide the foot back and try again. Find the furthest distance where the knee still reaches the wall with the heel down.
Measure roughly how far your toes are from the wall. Compare sides. Most people have a difference, and that difference is often more informative than the absolute number. Retest every couple of weeks. This gives you something to track that isn’t just how the ankle feels on a random Tuesday.
Also note where you feel the limit. Stretch in the calf points one direction. A hard pinch at the front of the ankle points another.
Exercises for Ankle Mobility
These are grouped by purpose. You don’t need all of them. Pick two or three that address what your test showed and do them consistently.
Opening the Back of the Ankle
Bent-knee wall stretch. Same setup as the test. Heel down, knee driving forward and slightly outward over the middle of the foot, hold 20 to 30 seconds, repeat several times. The bent knee biases the soleus, which is the muscle that limits the deep positions most people care about.
Elevated heel drop on a step. Ball of the foot on a step, heel hanging off, let the heel sink. Slow. Let it settle rather than bouncing. Bouncing here tends to provoke rather than lengthen.
Kneeling toe stretch. Kneel with toes tucked under, sitting back gently onto your heels. This targets the bottom of the foot and the toe joints, which most ankle programs leave out entirely. Go easy. If you’ve had heel pain, this one can be spicy at first.
Freeing Up the Front of the Ankle
If your limit is a pinch at the front, try this. Loop a resistance band around the front of your ankle, just below where the shin meets the foot, and anchor it behind you so it pulls backward. Put that foot on a low box, keep the heel down, and drive the knee forward repeatedly while the band pulls the ankle backward. Ten to fifteen slow reps.
The band assists the backward glide that’s supposed to happen naturally. Many people notice the pinch fades within a set or two. That improvement is real, but it’s also temporary unless you load it afterward, which is the next section.
Owning the Range You Gained

This is the part that makes mobility stick.
Deep-range calf raises off a step. Let the heel drop fully, then rise all the way onto the toes. Slow up, slower down. You’re building strength at both ends, and the bottom position is exactly the range you just stretched into.
Bent-knee (soleus) calf raises. Same as above but with the knee bent 20 to 30 degrees and held there. Harder than it sounds. The soleus does an enormous amount of work in walking and running and it’s chronically undertrained.
Elevated split squat with the front heel down. Front foot flat, knee traveling forward past the toes, heel glued to the floor. Control the descent. This is dorsiflexion under real load, which is the version your body actually cares about.
Tibialis raises. Back against a wall, heels a foot or so out, lift the toes and forefoot toward the shins, lower slowly. Trains the front of the shin, which controls how the foot lands and matters for downhill walking and stairs.
Toe splay and big toe presses. Sitting or standing, press the big toe into the floor while keeping the other toes relaxed, then reverse it. Awkward at first for almost everyone. It improves.
Single-leg balance, then make it harder. Barefoot, eyes open, 30 seconds. Then eyes closed. Then on a pillow or folded towel. Then reach the free foot forward, sideways, and behind while staying balanced. This trains the reflexive control your ankle uses to keep you upright on uneven ground.
If your interest is more about building foot strength specifically, the article on foot strengthening exercises on this site walks through that progression in more depth.
Exercises for Foot and Ankle Rehabilitation
Rehab is a different job than general mobility work, and the difference is mostly about starting point.
If you’re coming back from a sprain, a bout of Achilles pain, heel pain, or a period on crutches, the same exercises apply. What changes is the dose and the order. You start lower than feels necessary, and you spend longer at each level than feels satisfying.
A reasonable progression looks roughly like this:
- Early: gentle range of motion in a pain-tolerable range, isometrics (pushing against something without moving), weight-shifting, both-feet calf raises with hands supported.
- Middle: full range strength work with body weight, single-leg calf raises, balance progressions, controlled step-downs, walking distance built up gradually.
- Later: loaded work, faster movements, hopping and landing if you need those, then the specific demands of your sport or job.
The guardrail I use with most people: pain during and after the work stays at or below roughly 4 out of 10, and settles back to your normal baseline within about 24 hours. If it’s still elevated the next day, the dose was too much for that day. That’s information, not a setback. You adjust and continue.
And worth saying plainly: soreness the day after new exercise is expected and not a sign of injury. Pain is information, not automatically damage.
How Long Does It Take for Ankle Mobility to Improve?
Two different timelines, and confusing them causes a lot of unnecessary discouragement.
Range of motion often changes quickly. Within a session, and noticeably within one to three weeks of consistent daily work. Much of that early change is your nervous system allowing more range rather than tissue getting longer.
Tissue and strength changes take longer. For most people, meaningful adaptation in tendon, fascia, and muscle happens over something like 8 to 12 weeks of consistent loading, sometimes longer if the problem has been around for years.
This gap explains the most common failure pattern in ankle mobility work. Range improves in two weeks, so you stop. Then it slides back, because nothing was built underneath the new range. The people who keep their mobility are the ones who keep loading it well past the point where it felt solved.
How long has the stiffness been there matters too. An ankle that’s been stiff since a sprain in high school starts from a lower point and moves more slowly than one that’s been stiff for three months. Slower, not impossible. Long-standing usually means a more patient progression, not a closed door.
Why Does My Ankle Feel Like It Needs to Pop but Won’t?
This is one of the most common questions I get, and the sensation is genuinely uncomfortable in a way that’s hard to describe to someone who hasn’t felt it.
That “needs to pop” feeling usually isn’t about anything being stuck or out of place. More often it’s a stiffness signal. When a joint isn’t moving through its full range, the tissues around it send a vague, unsatisfied, pressure-like message. Your brain interprets that as needing release, and popping is the release you’ve learned to associate with relief.
Here’s the useful part. When people get that pop, the relief typically lasts a short while and then the feeling returns. That’s a hint that cracking isn’t addressing the cause. Mobility work through the actual range, followed by loading it, tends to reduce that sensation more durably. Not because you popped something, but because the joint started moving the way it’s supposed to.
If it never pops no matter what you do, that’s not a problem in itself. Joints don’t need to pop to be healthy.
Why Does My Ankle Pop When I Walk Even Though It Doesn’t Hurt?
Noise without pain is usually not a concern.
Ankles and feet make a lot of sounds. Tendons slide over bony edges, especially around the outside of the ankle and behind the ankle bones. Gas moves within joint fluid. Small tissue adhesions release. Any of these can pop, click, or snap.
The general rule: painless noise, even frequent noise, rarely means anything mechanically wrong. Noise that comes with pain, swelling, a feeling of the joint slipping or catching, or that showed up suddenly after an injury deserves an actual look.
The volume of the sound doesn’t correlate with how serious it is. Loud and painless is far less concerning than quiet and painful.
What Are the First Signs of Arthritis in the Ankle?
Early ankle arthritis tends to announce itself through pattern rather than intensity. Things people commonly notice:
- Stiffness in the morning or after sitting for a while, easing after moving around for several minutes
- Aching after activity rather than during it, sometimes showing up that evening or the next day
- Gradual loss of range, often noticed as trouble squatting, walking downhill, or going down stairs
- Mild swelling around the joint that comes and goes with activity level
- Weather or barometric sensitivity, which people report often even though the mechanism isn’t fully clear
- Deep ache in the joint itself rather than sharp pain in a specific tendon or spot
A history of ankle fractures or repeated significant sprains raises the odds, since joint surface changes often follow injury.
One thing I want to be clear about, because it causes real fear. Imaging findings and symptoms don’t line up as neatly as people assume. Plenty of people have joint changes on an X-ray and walk, hike, and work without much trouble. Others have significant pain with modest-looking imaging. A scan can show structural changes, but it doesn’t always tell us why you hurt.
And here’s the part that surprises people: for arthritic ankles, appropriate loading and strength work is generally part of the answer, not something to avoid. Joints tolerate load better when the muscles around them are strong and the joint moves regularly. Protecting an arthritic ankle by using it less tends to make it less capable over time.
If you’re wondering whether what you’re feeling is arthritis, that’s a question for an in-person evaluation. The pattern above can be consistent with early joint changes, but it can also be consistent with several other things.
Putting It Together Without Overcomplicating It
A practical weekly shape, for someone with no acute injury:
- Daily, 5 minutes: one calf stretch variation, one big toe or foot mobility drill, 30 seconds of single-leg balance per side. Short and boring. That’s fine.
- Three days a week, 10 to 15 minutes: deep-range calf raises, bent-knee calf raises, tibialis raises, and one loaded position drill like an elevated split squat with the heel down.
- Every two weeks: retest the wall test. Compare sides. Note where the limit is felt.
Start with less than you think you should. Add reps or difficulty when the current level feels genuinely easy the day after, not just during. If something flares, drop back a level and rebuild from there. A flare doesn’t erase the work you’ve done. It tells you the amount was more than that ankle was ready for on that day, and now you know something you didn’t know before.
Remember that everything counts toward the total. A long day on your feet, a new pair of shoes, a hike, a travel day, plus your exercises. When an ankle complains, it’s often the whole day’s load rather than the twelve calf raises.
When to Get It Looked At
Mobility work is safe and useful for most people. Some situations deserve an in-person evaluation rather than a home program:
- Pain that’s severe, worsening, or not improving over several weeks
- An ankle that gives way or has sprained repeatedly
- Swelling that persists or keeps returning
- Inability to put weight through the foot after an injury
- Numbness, tingling, or night pain that isn’t clearly activity-related
- Redness, warmth, and fever alongside joint pain
An evaluation sorts out what’s actually limiting you, which matters, because a joint restriction, a tight calf, an irritated tendon, and an unstable ankle all feel vaguely like “stiffness” and need different work.
The change you’re looking for isn’t a looser ankle for twenty minutes after stretching. It’s an ankle that moves well and holds that motion when you’re squatting, walking downhill, or catching yourself on an uneven curb. That gets built.